
An obsession with ink and paper
Beautifully textured paper, stamps and ink have always been fascinating to me. Some sheets of paper in my cupboard date back from my childhood and have since then moved with me from one place to the next, waiting for the right project to be used in. I'm also one of those people, who like to stick their nose into new books and sniff at the freshly printed pages.
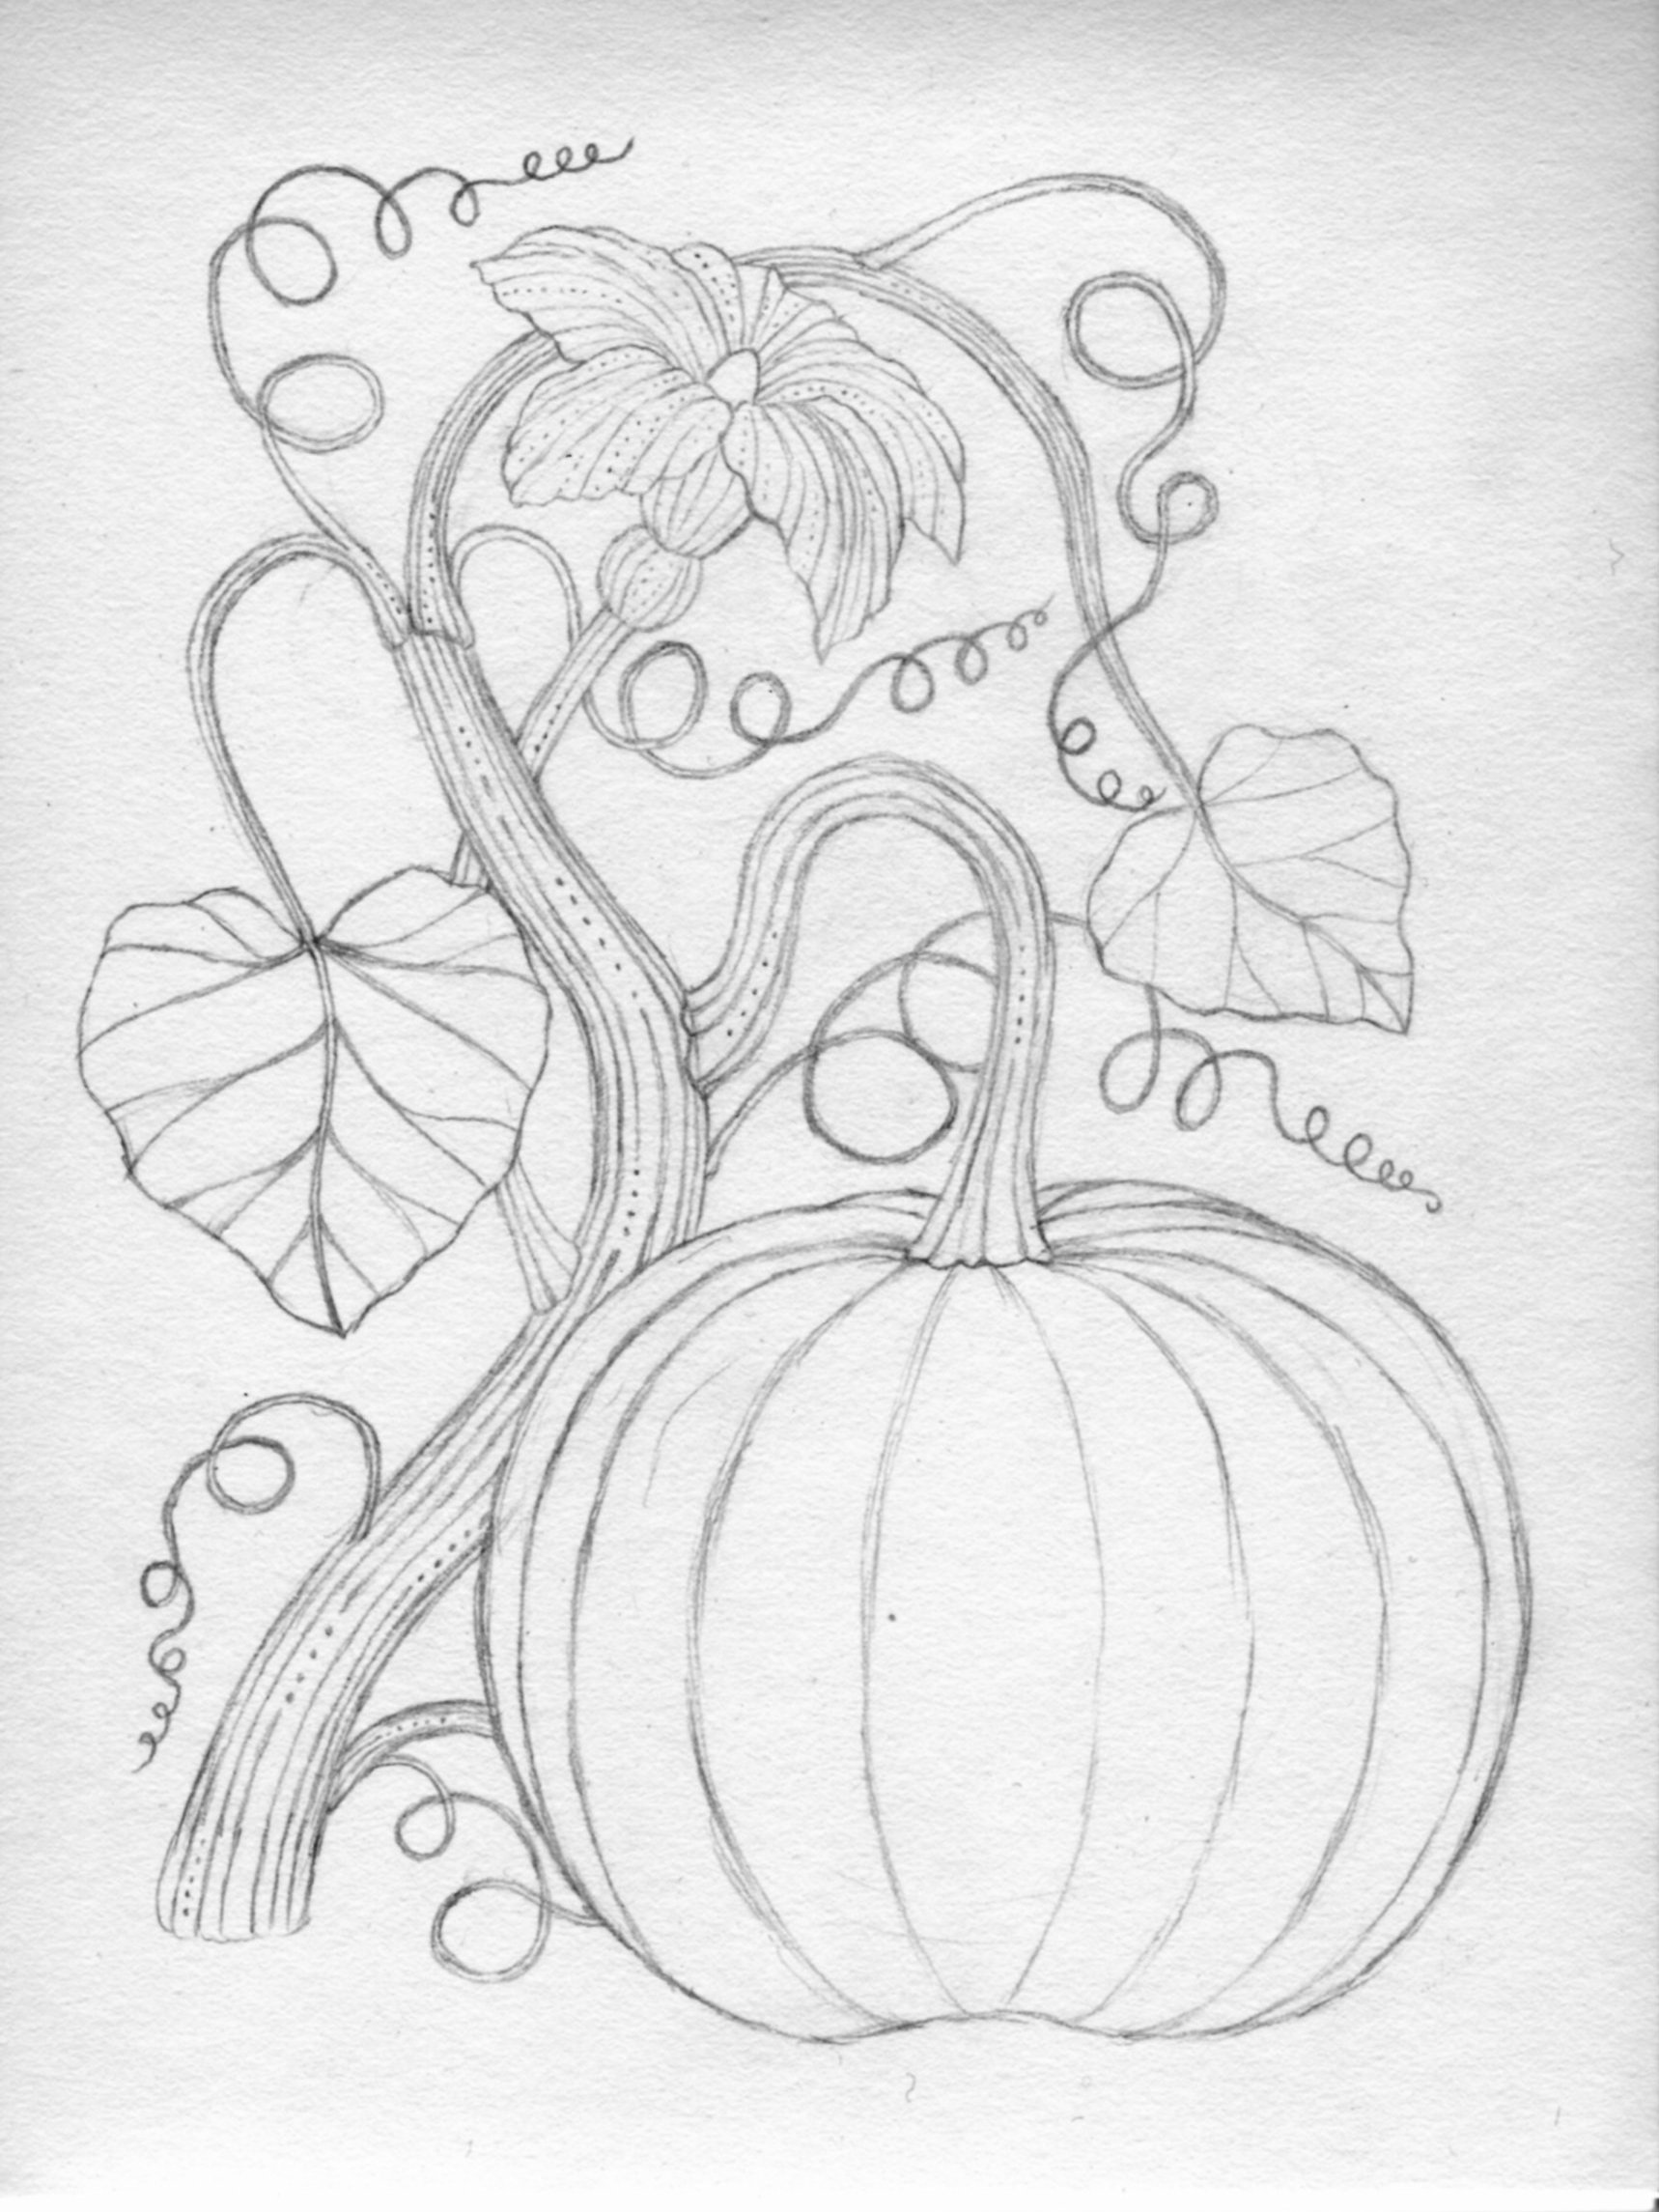
The first time I visited a lino printing studio, I knew I had to learn more about this process at some point. Here’s how I started, with this botanical pumpkin sketch, which I decided to turn it into a large stamp to create my own prints on paper and fabric.

Learning how to transfer and carve the design
My first ever hand carved stamp was a crumbly and crooked disaster to be honest, which is why this time I decided to first watch all the tutorials and process videos I could find online, before even touching my shiny new set of carving tools again.
In the end, I decided against traditional linoleum and used an Essdee Softcut carving block instead*. To transfer my design onto the carving block, I used the graphite pencil technique, which I thought was best shown in this simple, but very clear and helpful video by Minna May. I tried to make sure the lines are as clear and crisp as possible.
When I finally dared to make the first cut, it turned out that disastrous first time I had simply used the wrong material. This time it all worked very well!
*Not sponsored. I decided to use this material after reading about it being harder than a stamp block, but softer than linoleum and therefore suited for beginners.My first large block print on paper
Here is one of the first printing tests on normal printer paper. I still had to practise using the correct amount of ink, I had to make some corrections on the block itself to have a clean result and I tested several items to be used as a baren. After some time, I finally found a shop that sells the 'real' ones. Wooden spoons are generally recommended, but mine just left lines on the paper. The glass I used in this video worked nicely, but I was rather scared of it breaking under the pressure.

The final result
Here is the final result, printed on finely textured paper. I still need to continue practising to get the amount of ink and pressure right and have a more evenly filled surface. But since it's my first ever try to carve and print such a large design, I'm overall really happy with the result! Next I'll try to print on fabric tote bags.